
Server Guides
The day your dedicated server arrives
A dedicated server hands you the whole machine and nothing else. No panel, no stack, no firewall, no backups. Everything a shared host used to do quietly in the background is now yours to set up, and the order you do it in matters.
This is the sequence we use on a new offshore dedicated server, from first login to a site serving traffic with monitoring and backups behind it.
Check the hardware first
Do this before you build anything on top. Providers make mistakes, and finding out three weeks later that you are on a spinning disk instead of NVMe is an annoying conversation to have.
lscpu | grep -Ei 'model name|^cpu(s)|thread|core'
free -h
lsblk -d -o NAME,SIZE,ROTA,MODEL
cat /proc/mdstat
Check the CPU model against what was advertised, that the RAM total matches, and that the disks are the type and size you ordered. cat /proc/mdstat tells you whether software RAID is assembled. A dedicated server delivered with an unassembled second disk is common enough to be worth checking.
Base system
apt update && apt upgrade -y
hostnamectl set-hostname server.yourdomain.com
timedatectl set-timezone UTC
Set the timezone to UTC and leave it there. Every log on the machine gets timestamped with it, and when you are correlating a web server log against a database log against a provider status page at 2am, having everything in one timezone saves real time.
Add the hostname to /etc/hosts as well, or a lot of software will complain about not being able to resolve it, including the mail daemon.
Lock it down before it is public
Do this before the site exists, not after. The IP is already being scanned.
adduser deployer
usermod -aG sudo deployer
ufw default deny incoming
ufw default allow outgoing
ufw allow OpenSSH
ufw allow 80/tcp
ufw allow 443/tcp
ufw enable
apt install fail2ban -y
systemctl enable --now fail2ban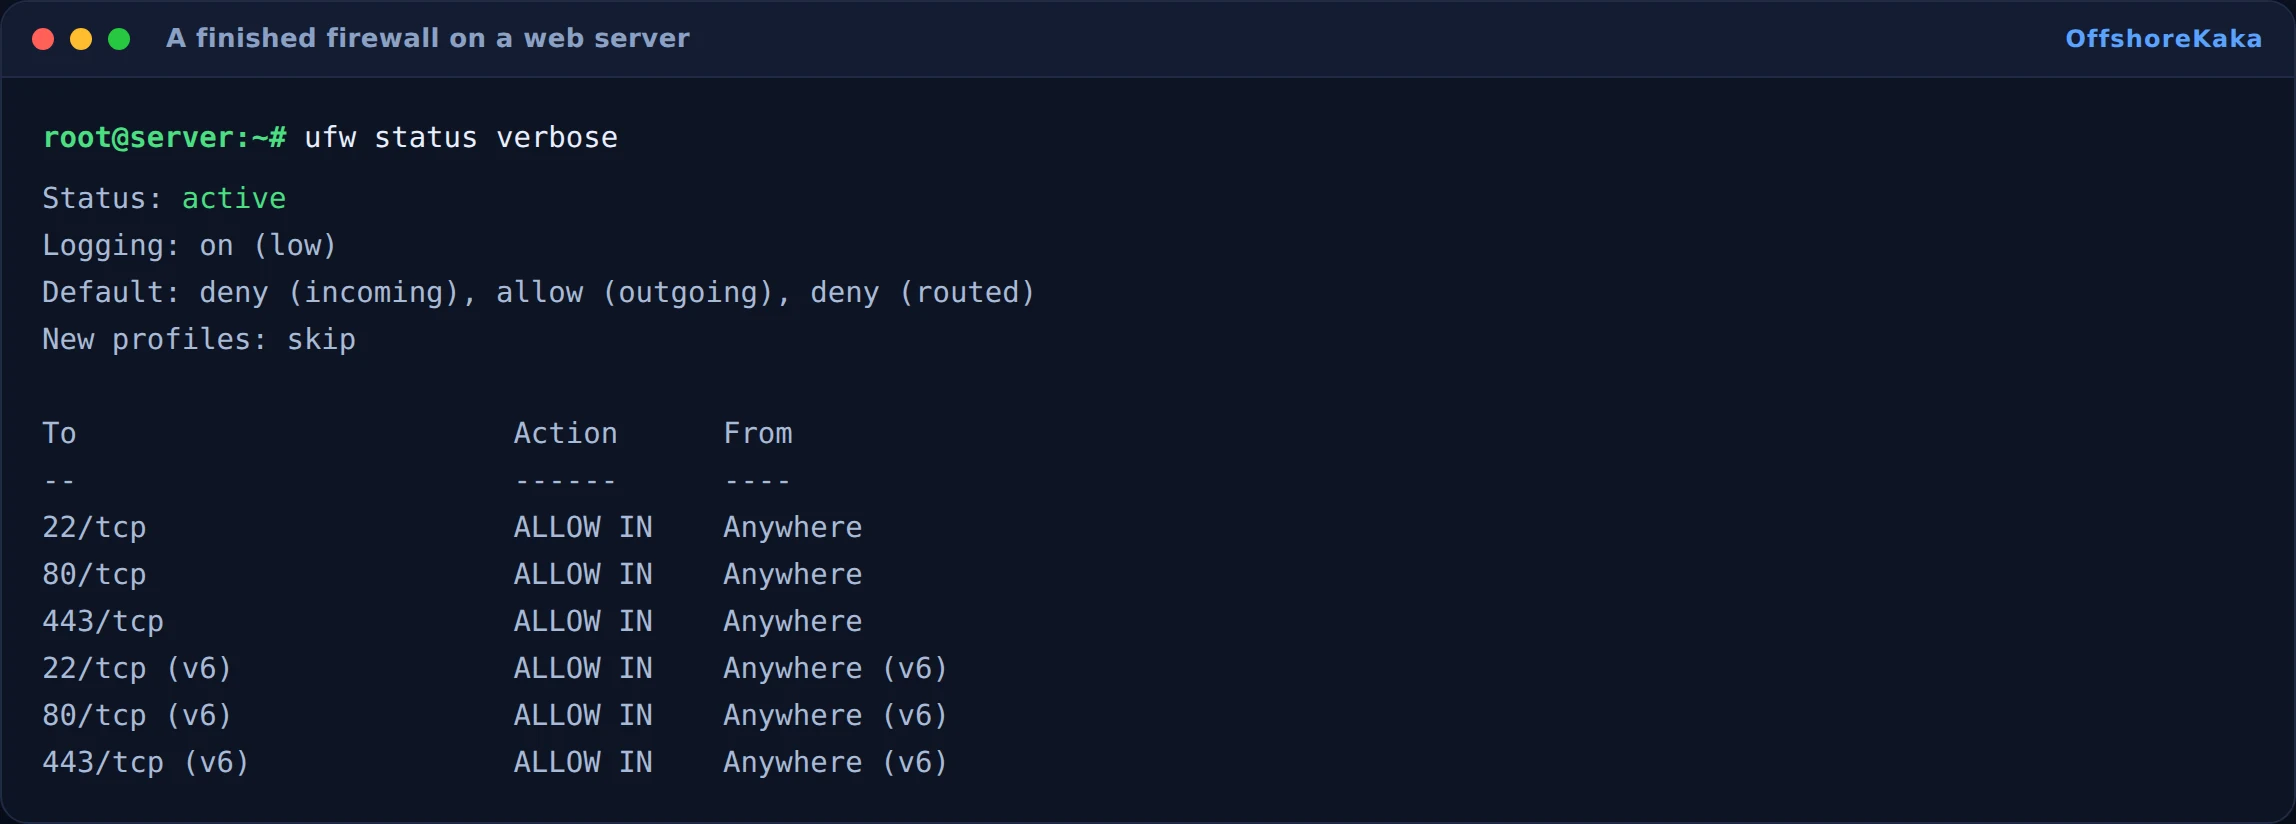
Then switch SSH to key only. The full sequence, including the config override that catches people out on modern Ubuntu, is in our SSH hardening guide. The order is not negotiable: create the user, test sudo, add the key, test the key, then disable passwords.
Stack or panel
Decide this once, because switching later means rebuilding.
A control panel if you host client sites, need email accounts, or want someone else to be able to manage it. cPanel and WHM is the standard and it costs money. aaPanel and CyberPanel are free alternatives. Install a panel on a clean machine, before any web server exists, because they all want to own nginx, MySQL and PHP and they fight anything already installed.
A plain stack if this box runs your own applications and you are comfortable on the command line. Less overhead, fewer moving parts, no licence:
apt install nginx mariadb-server php-fpm php-mysql -y
systemctl enable --now nginx mariadb
mysql_secure_installation
Do not skip mysql_secure_installation. It sets the root password, drops the anonymous users and removes the test database, all of which exist by default and none of which should.
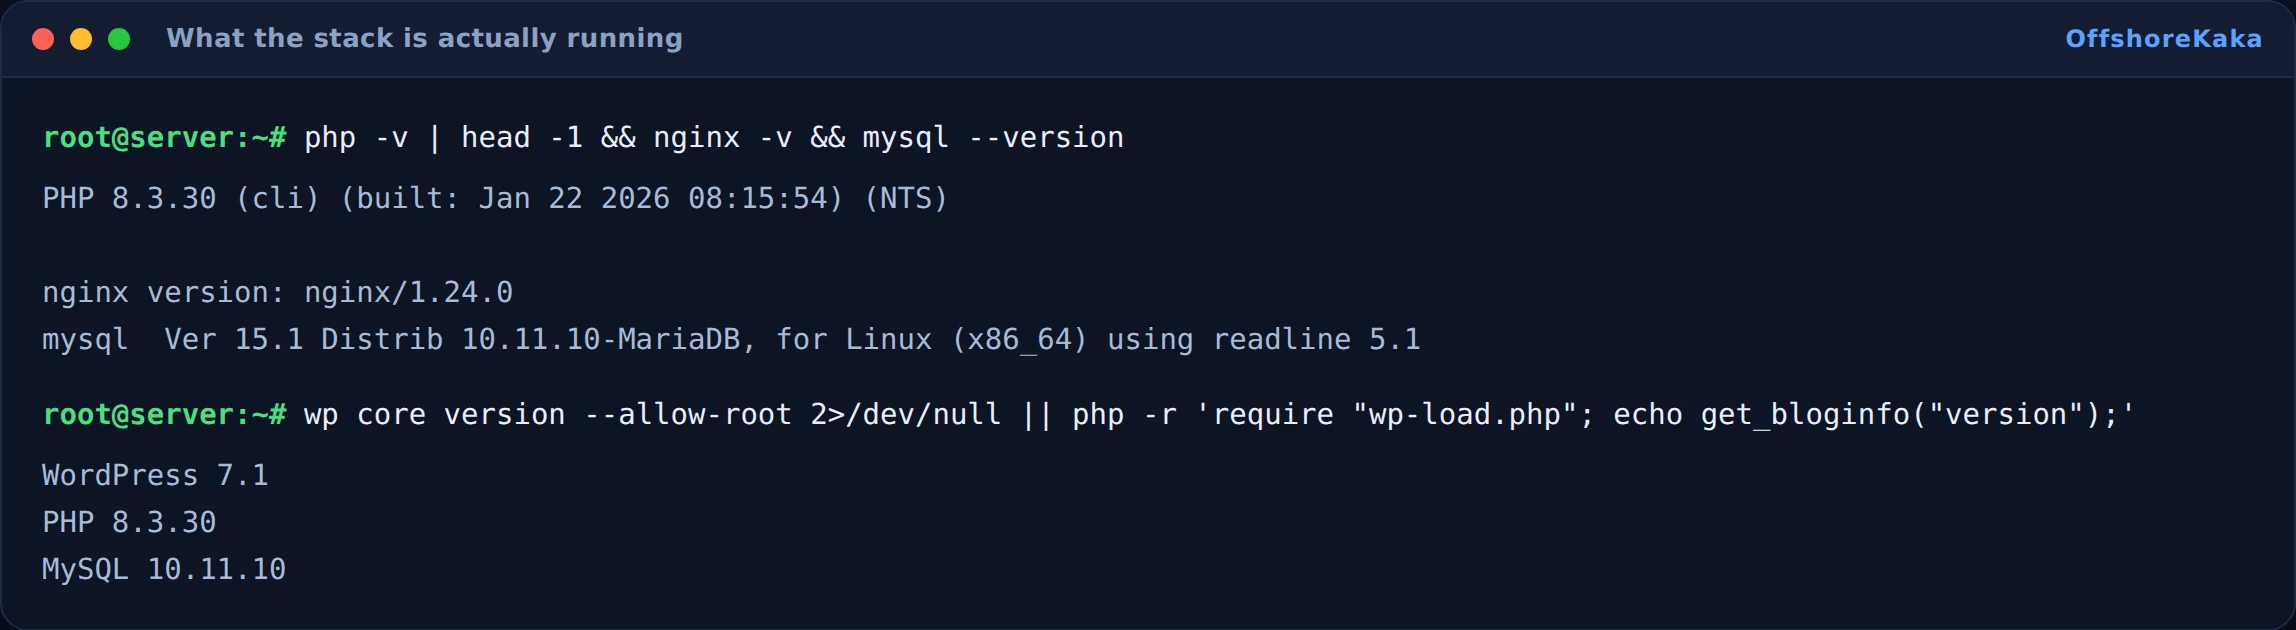
Then confirm nothing is listening that should not be:

Deploy and go live
- Create the vhost and put the site files in place.
- Restore or import the database, then update the credentials in the site config.
- Test by IP or a temporary hostname before touching DNS. Every page, not just the homepage.
- Issue the certificate.
certbot --nginx -d yourdomain.com -d www.yourdomain.com. This needs DNS pointing at the server, so on a migration you may need a DNS challenge instead. - Then change DNS, having lowered the TTL a day earlier. Our DNS propagation guide explains why that day matters.
Before you call it done
This is the part that gets skipped, and it is the part that matters in six months.
- Backups, running and tested. Not configured, tested. Restore one somewhere before you trust it. See the backup guide.
- Monitoring, from outside the server. Uptime plus a disk space alert catches most of what goes wrong.
- Automatic security updates with unattended-upgrades.
- Log rotation confirmed, so logs cannot fill the disk.
- Write down what you built. Versions, paths, vhost names, where backups go, where the certificate renewal lives. Future you will not remember.
How to test the whole thing
- Reboot the server. Everything should come back on its own. This finds services that were started but never enabled.
- Load the site over HTTPS with no warnings.
- Confirm the firewall is on and only the ports you expect are open.
- Confirm root SSH and password SSH are both refused.
- Run a backup by hand and restore it somewhere else.
- Stop nginx and confirm your monitoring alerts you.
- Check
certbot renew --dry-runsucceeds.
The reboot test is the one people skip and the one that finds the most problems.
When something breaks
| What you see | Why | Fix |
|---|---|---|
| Services gone after a reboot | Started but never enabled | systemctl enable each one, then reboot again |
| Panel install fails | A web server or MySQL was already installed | Reinstall the OS clean, then install the panel first |
| certbot cannot issue | DNS is not pointing here yet, or port 80 is closed | Use a DNS challenge, or open 80 |
| Half the disk is missing | Second disk or RAID array never assembled | Check lsblk and /proc/mdstat, raise it with the provider |
| Mail from the server goes to spam | New IP with no SPF, DKIM or reverse DNS | Set reverse DNS in the provider panel, or send through a mail service |
| Site loads by IP but not by domain | vhost server_name does not match | Fix the vhost and reload nginx |
Checklist
- Hardware verified against what you ordered.
- System updated, hostname and timezone set.
- Non-root user, firewall, fail2ban, key-only SSH, all before going public.
- Panel or stack installed on a clean machine.
- MySQL secured and bound to localhost.
- Site tested by IP before DNS was changed.
- Certificate issued and renewal tested.
- Backups running and a restore actually tried.
- Monitoring alerting from outside.
- Reboot test passed.
- Build notes written down.
Looking at a dedicated server?
OffshoreKaka runs AMD EPYC and Intel Xeon bare metal in Amsterdam and Frankfurt, with IPMI access so you are never locked out of your own machine.
FAQ
Can I do this without much Linux experience?
You can follow it, but an unmanaged dedicated server means every problem after today is also yours. If that is not something you want, a control panel takes most of the daily work away, and managed hosting takes all of it. Be honest with yourself before the machine is carrying real traffic.
Panel or plain stack?
Panel if other people need access, if you need email accounts, or if you host client sites. Plain stack if it is your own application and you live in a terminal anyway. The panel costs some RAM and some flexibility and saves a lot of time.
How is this different from setting up a VPS?
The software steps are nearly identical. What differs is that you should verify the hardware, check RAID, and set reverse DNS, none of which apply the same way on a VPS. There is more on choosing between them in bare metal versus VPS.
Does a good setup help my rankings?
Not directly. It keeps the site fast and available, and both of those matter to visitors. Search rankings still come from content and links.